How to Paint Your Kitchen Cabinets
This story is part of Home Tips, CNET’s collection of practical advice for getting the most out of your home, inside and out.
One of the most dramatic ways you can update an outdated kitchen is with new cabinets, but buying a full set and having it installed will cost you a pretty penny. A far more budget-friendly way to give those drab or dinged-up cabinets a facelift is by painting them. It takes some time (yes, you’ll have to take the doors off) but it’s a straightforward process that doesn’t require any special carpentry skills.
Here I’ve outlined how to paint your kitchen cabinets and give the heart of the home a fresh look and a bit of razzle-dazzle.
You can also check out our tips on how to build DIY pipe shelves and how to make custom poster hangers for just £1. Read more: Best Cookware Sets for 2022
Step 1: Select a paint type and color
Acrylic latex paint is a popular choice since it’s hearty and easy to wipe clean. Semi-gloss, gloss and satin finishes tend to show fewer smudges over time. Avoid matte, flat and super glossy finishes which are more difficult to clean.
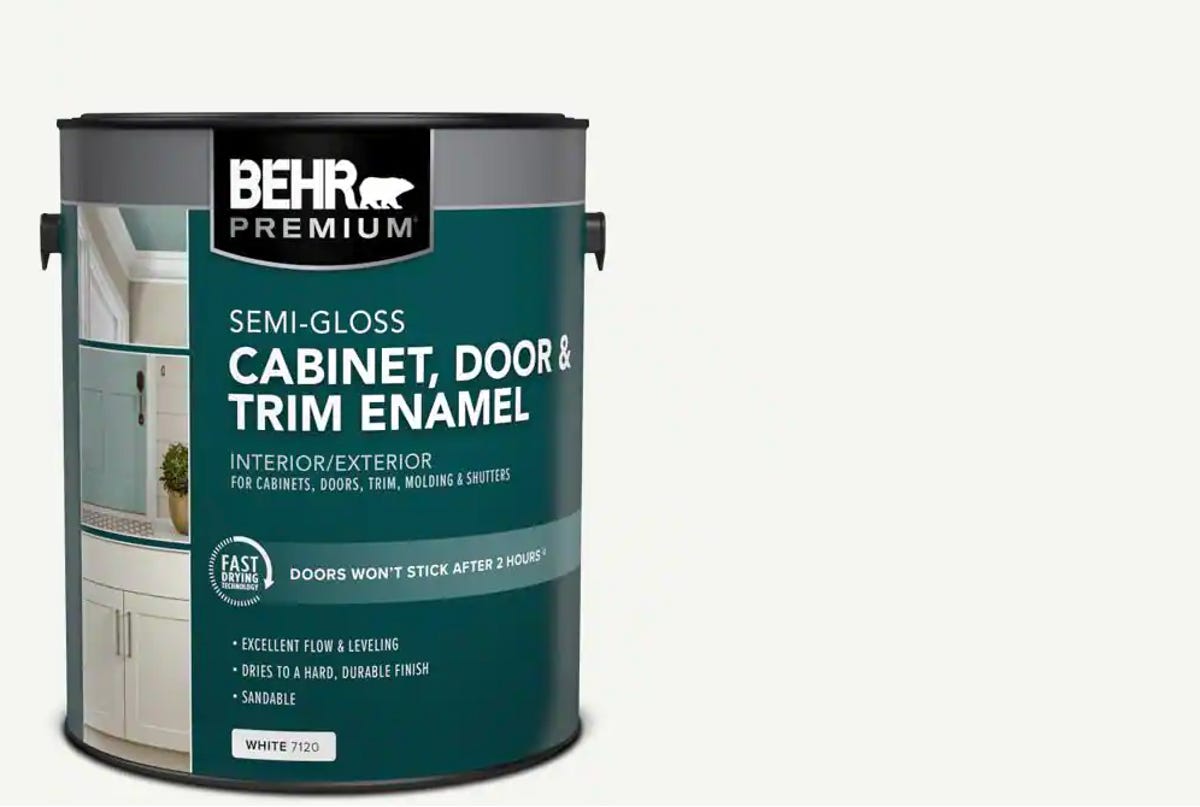
Semi-gloss paint is a popular choice for kitchen cabinets.
Behr
You’ll also want to buy and apply a binding primer to the cabinets before you paint, so pick some up while you’re at the store.
Step 3: Strip cabinets if painted, or wash them if not
If the cabinets are already painted, you’ll have to strip them.
This is a tedious and labor-intensive step, so if you’re on the fence about replacing or painting, knowing that this will add a good chunk of work might help you decide.
![]()
If they’re not painted, simply wipe them down with an all-purpose cleaner such as TSP cleaner. Be sure to get them as clean as possible including any oil or grease stains as they can affect the final result.
Step 4: Remove all doors and hardware
Unscrew and remove all cabinet doors and pull out any drawers to set aside. You can empty the shelves if you want to but, unless you’re painting the inside or wanting to give the area a good cleaning, you can get away with just removing items in the front so they don’t get splattered with paint.
Another option is to cover them with a small drop cloth. Helpful tip: Keep all your hardware organized in a way that you’ll know which cabinet it belongs to since some hinges and fixtures are specific to certain cabinets.
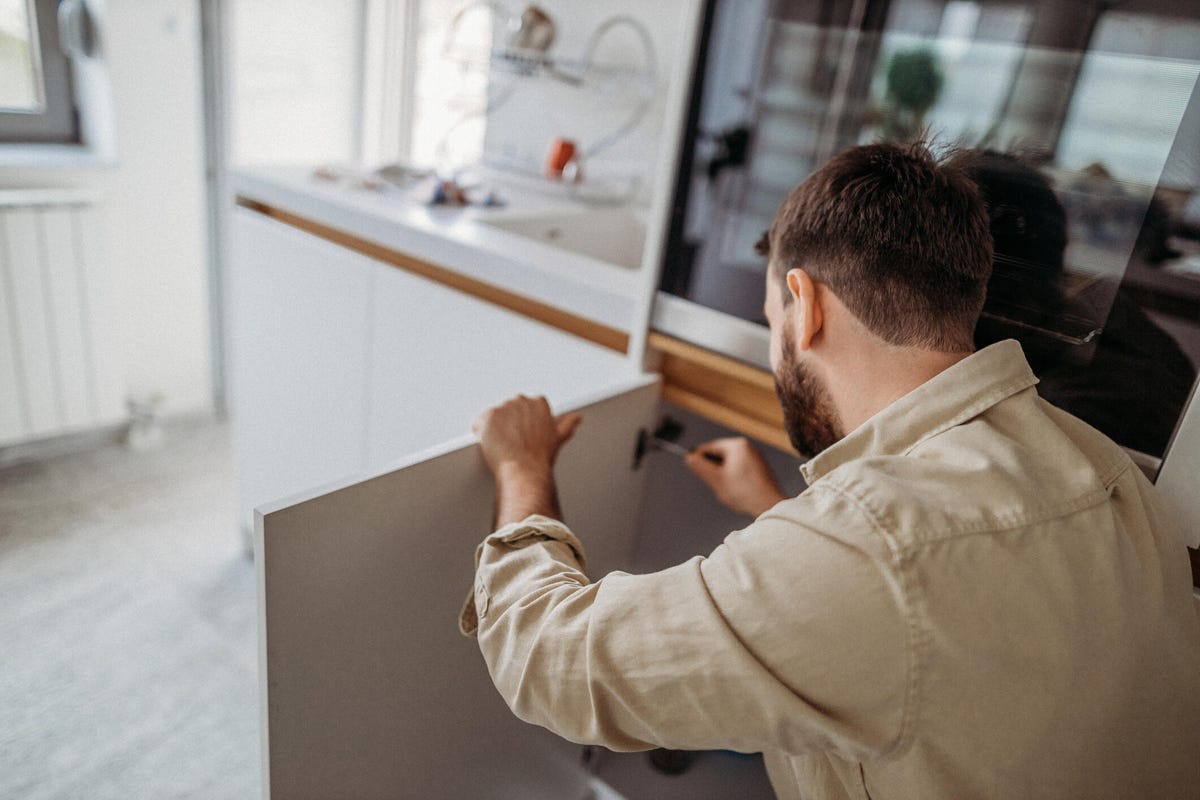
Carefully remove all doors, drawers and hardware using a manual screwdriver.
milan2099/Getty Images
Step 5: Fill any holes
Use a wood filler and smoothing knife to fill any holes or big chips to get the smoothest possible surfaces to paint on. Don’t worry about the inside of the cabinets as you likely won’t be painting those panels.
Helpful tip: Be careful not to fill your screw holes or it will make attaching the hardware very difficult.